

Your first project, step by step
From opening the portal to publishing your website: eleven steps for a new business, with where to find each one.
Before you start. The portal and the designer run in your browser today, as a preview, and keep your work in that browser. Steps marked Cloud service need the OpalSketch cloud service, which is built and not live yet. A plan tag names the lowest plan with that step.
Set up your workspace
A few minutes once, and every document and client page after that carries your business.
Open the portal
Open the portal in your browser; there is nothing to install. Load the sample workspace to look around first, and remove it from the dashboard when you are done.
Today your work stays in this browser, so export a backup now and then. With the cloud service you sign in with a one-time code sent to your email, and your work follows you to any device.
Where: the portal, then Try a sample workspaceSet your business name and logo
Type your business name under Workspace; it is the name your clients see. Add your sales tax and the payment instructions clients will read on their invoices.
In Website, add your logo, phone, email and color. The client page and the designer's presentation and drawing set use them.
Where: Modules, then Workspace; and WebsiteAdd your team Cloud service
Owners and admins open Team, type a person's email and pick a role: admin, member or viewer. The person gets a link that works for 14 days and joins when they sign in with that email. In today's preview, Team shows how this works, with the invite form switched off.
Where: TeamAdd products or turn on the catalogs
In Brands, choose which of the loaded brands your designer and website show. Import your own products from a spreadsheet in My catalog, or add a product by hand on any project.
Where: Brands, My catalog, or + Add product on a project
Design and sell
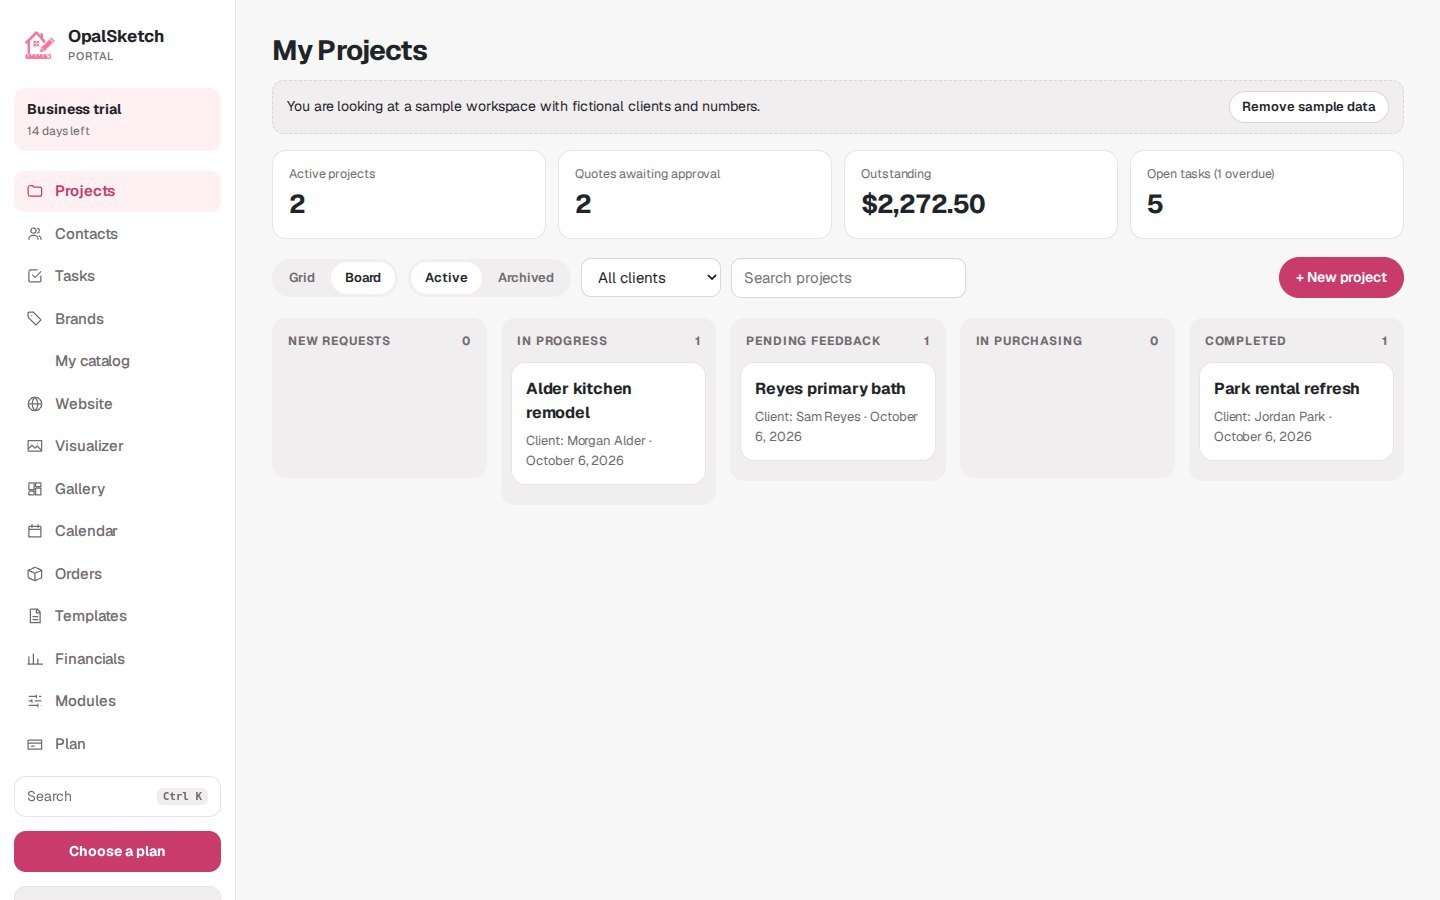
One project holds the client, the design, the products and the quote, so nothing is typed twice.
Create a project
Make a new project and give it a name, then add the client with their email address and any vendors. Everything for the job now hangs off this project.
Where: Projects, + New projectDesign in 3D
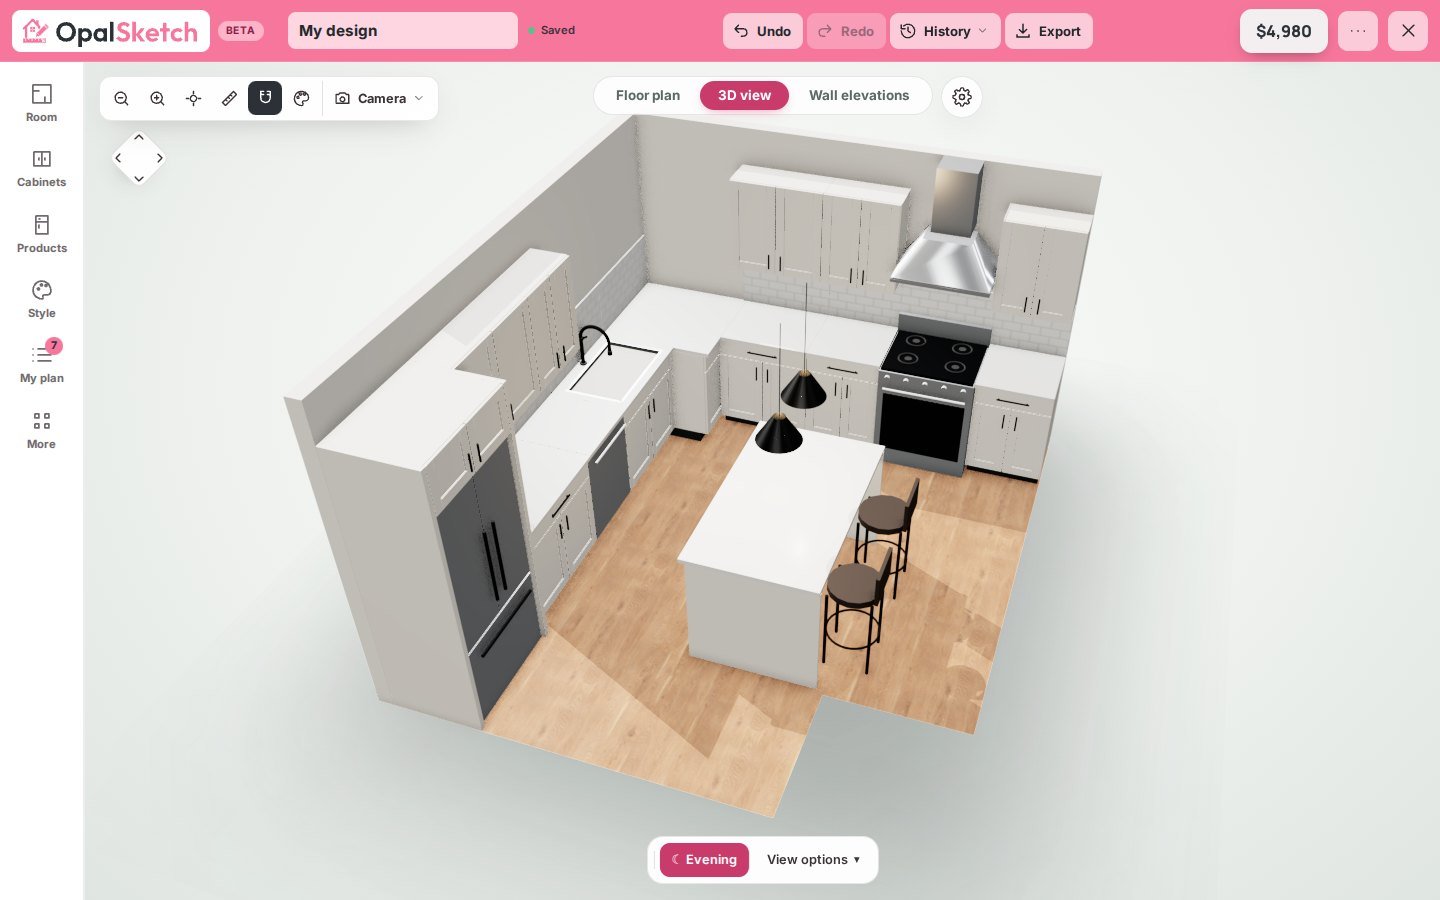
On the project's Designs tab, + Add design opens the designer. Draw the room or use the room wizard, place real cabinets, appliances and fixtures, and check it in 3D and in the wall elevations. Saving keeps the design on the project.
Where: the project, Designs, + Add designBuild the quote
Add the products to the project with their prices, vendors and rooms, by hand or from your catalog. Quote from products makes the quote with your sales tax; mark it sent when it is ready.
Where: the project, Products, Quote from productsShare with your client
On the Designs tab, Show to client puts a design on the client's page; new designs stay drafts until then. Share with client gives you a private link to send by email or text, and Preview shows exactly what your client will see. Your client can also use Client sign in with the email you have on file to see every project you share with them.
In today's preview the link and the client's page show only what is in your browser; with the cloud service they work on any device.
Where: the project, Designs, Show to client; then Share with client
Approve, order and deliver
Approvals come back to the project, and the same products become orders and invoices.
Collect approvals
Your client approves selections and quotes, answers questionnaires and signs contracts on their page. Each answer is logged in the project's activity, and with email set up on the cloud service you hear about it.
Where: the project's Overview and Activity tabsOrder and invoice
Create POs from approved products makes one purchase order per vendor; follow each product from Ordered to Installed in the order tracker. Make an invoice from the quote, record payments as they arrive, and see the totals in Financials.
Where: the project, Purchase orders and Invoices; Orders; FinancialsPublish your website
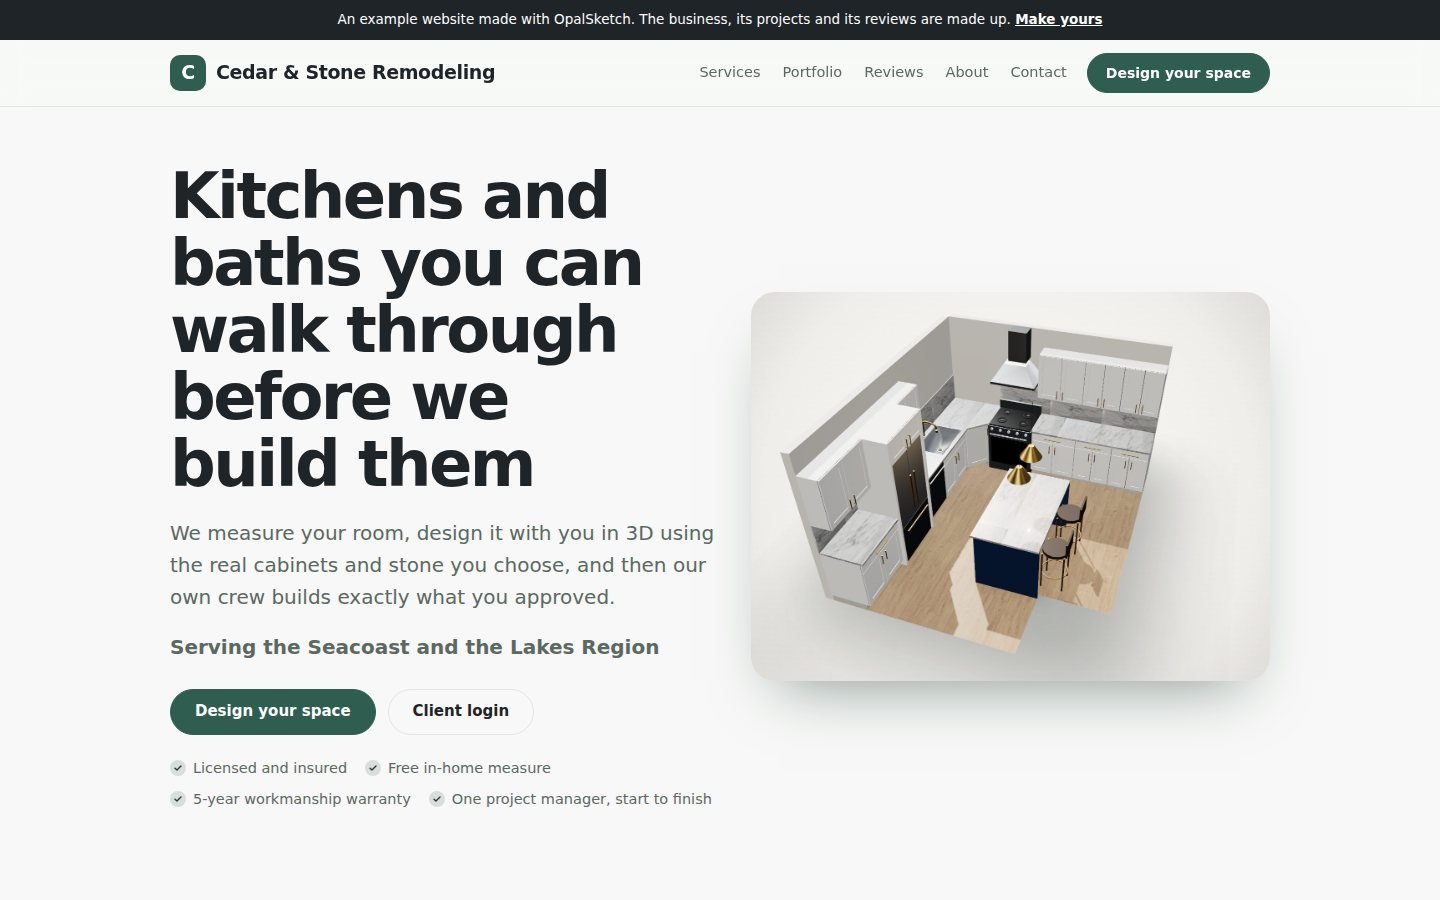
Answer the six questions in Website and check the phone preview. Today Put my website online gives you a small file to send to OpalSketch; with the cloud service the site goes live at yourname.opalsketch.com on its own.
Where: Website
See the client's side
What your client sees on their page, what stays with you, and how the link and email check work.
Ready for your first project?
Open the portal and start with the sample workspace, or go straight to the designer and draw a room.